How to mount a mds file
How to mount a mds file
The .mds format is one of the most popular disk image formats. Such file is an exact copy of a CD, DVD or Blu-ray disc. However, using the standard features of the Windows operating system it is impossible to work with it.
Instructions
1
To mount a disk image, you need onefrom programs that emulate the presence of a disk drive in the system. The most popular among them are Daemon Tools and Alcohol 120%. You can use any other program at your discretion, they all have a similar working principle.
2
Download the Daemon Tools Lite program. It is free, you can download it on the official developer site at http://www.daemon-tools.cc/eng/products/dtLite. After installation, run the program.
3
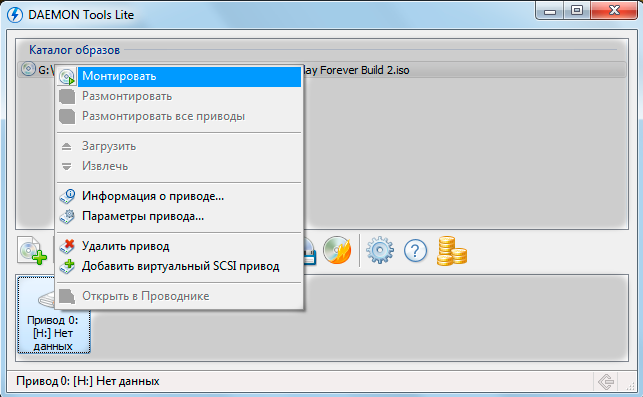
Click on the button "Add drive" on the panelapplication tools for adding a virtual drive to the system. After a few seconds, the icon of the added drive appears in the program window. Click on it with the right mouse button and select "Mount". In the window that opens, find the required file .mds and double-click it. After that, the disk image will be mounted.
4
Also you can add file .mds to the Daemon Tools program image directory for quick access in the future. To do this, click on the button "Add file", In the Explorer window that appears, find the desired disk image and double click on it. You can mount it by simply dragging it to the virtual drive icon in the program interface.
5
Another popular application is Alcohol120%. To mount a .mds image with it, select File -> Open, in the window that appears, find and double-click on the image you want. After that, it will appear in the program window. Right-click on it, select "Mount to Device" and specify the desired virtual disk.
6
The second option for mounting a disk image using Alcohol 120% is to use the context menu of Windows Explorer. Find the required file .mds, right-click on it and select "Mount Image".