How to remove defects in a photo
How to remove defects in a photo
A photo taken in conditions when the photographerit was not possible to carefully frame the composition of the frame and light, often in need of correction. The main tools for removing defects from photos in Photoshop are the Healing Brush Tool, the Clone Stamp Tool and the Patch Tool.

You will need
- - the program Photoshop;
- - the photo.
Instructions
1
Open the photo in the photo editor andduplicate the layer with the photo. To do this, select the Dublicate Layer option from the context menu by clicking on the layer with the downloaded photo. In this way, you save the original view of the image in the edited document, with which you can compare the correction result in the process.
2
Before you fix the parts, prepare a photo: adjust the color balance and remove the noise. Color balance at Photo You can adjust the Curves filter from the groupAdjustments of the Image menu. Select the rightmost dropper in the filter window and click on the area in the image that should be white. Select the left pipette and point it to Photo area of black color. With a medium pipette, click on the gray portion of the image.
3
To remove color noise, open the filter windowReduce Noise from the Noise group of the Filter menu and adjust the noise reduction settings. Do not set large values for Sharpen Details, after removing defects from the image, you will be able to correct the sharpness of the image through the color mode Lab.
4
Accidentally trapped in the frame of extra parts can beremove the tool with the Clone Stamp Tool. To use the capabilities of this tool, hold down the Alt key and click on the place in the image from which you can copy the pixels of the appropriate color and cover them with extra details. After selecting the source for cloning, click on the area that you want to fix.
5
Larger unwanted parts can be removed from the frame by the Patch Tool. Circle with this tool a fragment Photo, which you can close unnecessary objects. Activate the Destination option in the panel below the main menu and move the enclosed patch to the desired location.
6
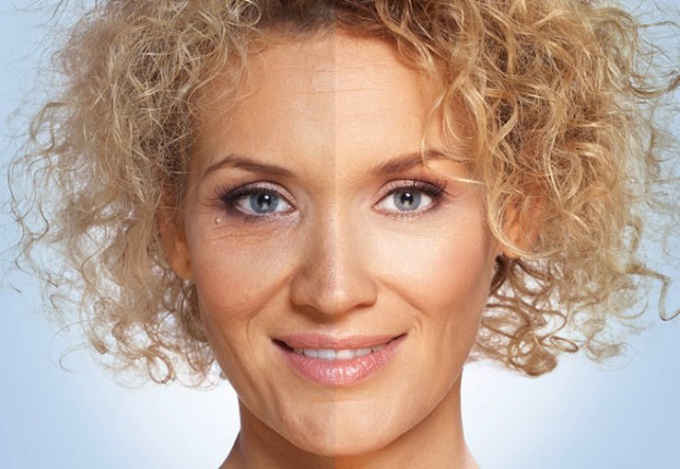
If you shot a close-up face, small defects can be removed from Photo using Clone Stamp Tool or Healing BrushTool. Both tools work in a similar way, but when using Healing Brush, the extreme pixels of the area superimposed over the image are adjusted to the surrounding colors.
7
One of the frequent problems that arise when shootingfaces from an unfortunate foreshortening - shadows and wrinkles under the eyes. To remove them, you can use the same Healing Brush Tool or Median filter. Before working with Median, create a copy of the active layer.
8
Turn on the Quick Mask mode with the Q key. Activate the Brush Tool, open the Brush Tip Shape tab of the Brushes palette and select any round brush. Set the Hardness parameter to about fifty percent.
9
Color the brush area of the shadow area under the eyes and switch to normal mode with the same Q key. With the Inverse option from the Select menu, invert the selection.
10
Run the filter with the Median option from the Noise group of the Filter menu and set the Radius parameter value so that it blurs slightly. Apply the filter and remove the selection with the keys Ctrl + D.
11
Adjust the result of applying Median, increasing the transparency of the layer to which this filter was applied. This can be done by moving the Opacity knob to the right in the Layers palette.
12
If you are going to apply to Photo additional color correction, press Ctrl + Alt + Shift + E. In the Layers palette, you will notice a new layer containing the visible elements of all layers of the document. Apply the filters to this layer.
13
Save the finished image with Save As from the File menu.