Tip 1: How to include kernels in bios
Tip 1: How to include kernels in bios
The process of including additional core in the BIOS is reduced to the checkbox on the boxEnabled the corresponding partition. The main difficulty is to determine the possibility of performing a processor unlocking operation and searching for the desired partition.

Instructions
1
Make sure that the computer's motherboardmeets all the requirements for including an additional kernel and remember that the selected procedure can lead to a malfunction of the system.
2
Do not forget to restart the computer system after performing the operation of unlocking the additional kernel and test it for functionality.
3
For Asus: - South bridges AMD SB750 and 710 - go to the Advanced tab and specify the CPU Configuration item, select the Enabled option in the Advanced Clock Calibration line and repeat the same action in the appeared Unleashing Mode field - the nVidia chipset - go to the Advanced tab and use the JumperFree Configurarion , check the box in the NVIDIA Core Callibration field for the desired action - motherboards that support the Asus Core Unlocker function - go to the Advanced tab and use the CPU Core Activation items along with the Asus Core Unlocker.
4
For MSI:- South bridges AMD SB750 and 710 - open the Cell Menu and apply the checkboxes to the Advanced Clock Calibration field, repeat the same action on the Unlock CPU Core line - the nVidia chipset - expand the Cell Menu and go to the NVIDIA Core Calibration section - motherboards that support function MSI's Unlock CPU Core - open the Cell Menu and use Unlock CPU Core.
5
For AsRock:- South bridges AMD SB750 and 710 - go to the Advanced tab and specify the command Advanced Clock Calibration (options are: open the OS Tweaker menu and select the same command), the L3 cache is managed in the L3 Cache Allocation section - the nVidia chipset that supports the NCC function - go to the Advanced tab and specify the NVIDIA Core Callibration item, enable additional poison in the Active Core Setup line, - motherboards that support the UCC function - open the OS Tweaker menu and go to the ASRock UCC section, enable the additional core in the CPU Active Core Control line.
Tip 2: How to enable two cores
Enabling the operation of two processor cores incomputer in several ways. Note that many of them can spoil your processor, so use only software methods.

You will need
- - skills of a confident PC user.
Instructions
1
If your computer configuration includesyourself dual-core processor, activate Hyper-threading in the BIOS settings. To do this, restart it, at boot press the button responsible for entering this program. In most stationary computers this is Delete, in laptops - F1, F2, F8, F10, Fn + F1, Delete, Fn + Delete and other combinations depending on the model of the motherboard. If necessary, enter the password to log in.
2
Use the arrow keys to scroll through the menuprogram and see its interface. Find the Hyper-threading feature, it can be in the process settings, but it can also depend on the model of your motherboard. Set the flashing cursor to its position and change the position to On using the plus / minus buttons. Exit the program, saving the changes.
3
If your computer is more thantwo cores, and you need to include only 2 of them, use special programs. Note that they are often unreliable and roll back the changes to the factory settings only after the operating system is completely deleted with the formatting of the local disk. Especially this option is often found when using Windows Xp on multi-core computers. The configuration of this operating system simply does not include the function of changing the number of working cores, since it was made while the processors were normal, so rollback of the changes may not be possible even if you resort to third-party utilities. Here, only reinstalling on windows Seven will help.
4
If you need to change the number of cores forcompatibility of the software version with the hardware configuration of the computer, use the change of the attributes of the startup file of this program by right-clicking on it and selecting the compatibility mode with XP or Vista.
Tip 3: How to enable the second XP kernel
The second core of the processor usually happensIs enabled by default in the operating system Windows XP, but some programs require it to shutdown for proper operation. After this, it may be difficult to return to the original settings.
You will need
- - optimization program.
Instructions
1
Make sure that the second core processor is disabled. To do this, open the Windows Task Manager by pressing Alt + Ctrl + Delete or Shift + Ctrl + Esc, and then click the System Speed tab. Note how many parts are divided in the CPU load window, if two, then both cores are turned on and functioning at the proper level.
2
In the case when you have only one core of the two in the Windows XP operating systemDownload and install the optimization program, which configures the processor. After installation, go to the hardware management of your computer and turn on the work of both cores of the processor. If necessary, reboot the computer, even if the optimization program does not require it, do not forget to save the changes made earlier.
3
To test the operation of both computer coresturn it on and run any game or program, the system requirements which assume that you have a dual-core processor. Start the task manager and on the system performance tab, view the workload of both items. It can be different for them, since the load is not always distributed evenly.
4
Turn on the second core processor using the parent driver's rollbackboard installed in your computer. Prepare the driver for future installation, it's best to update the driver. Reinstall the software, and then restart the computer.
5
Check the operation of both cores in the managerdevices. This sequence works in very rare cases. You can also try restoring the system from its earlier state, but in this case, the rest of the changes you make will be canceled for a period of time.
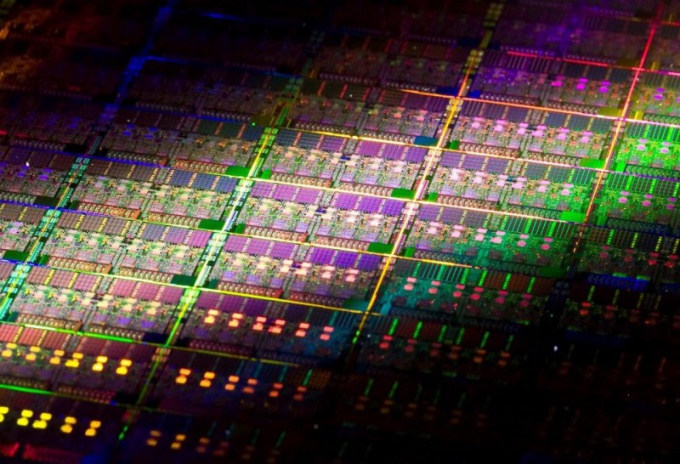
Tip 4: Why do kernel computers
The core of the processor is a silicon crystalabout 10 square millimeters, on which with the help of microscopic computational elements the processor circuit is realized - the so-called architecture.