How to make a stencil on a computer
How to make a stencil on a computer
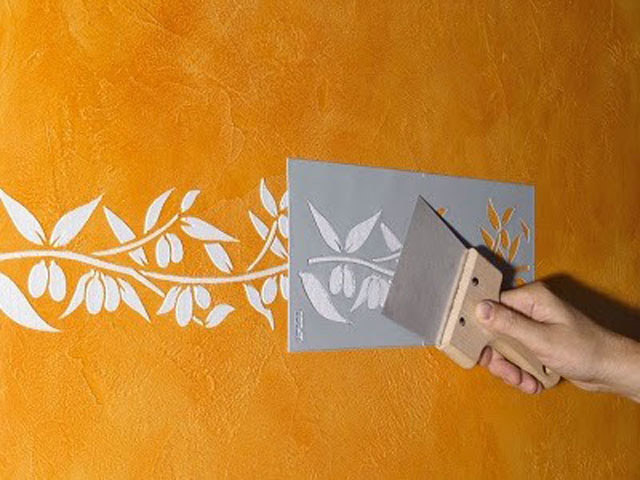
The stencil allows you to quickly perform a largenumber of identical drawings. Typically, the method of airbrushing is used - the paint is sprayed from the aerosol can. Making a stencil is quite a painstaking affair, but you can speed up the process by using a computer.

It is necessary to understand all stages of creationstencil. First, the original drawing is selected or created independently, then it is changed to the technology of applying the ink on the stencil, this is the most complex and responsible process. Then the blank of the stencil is printed on the printer, and lastly the unnecessary areas are removed with a sharp scalpel from the stencil.
Creating a pattern for the stencil
Not every picture can be organicallyturn into a stencil. Looking at the picture, you need to imagine how it will look in solid color, which areas will be visible and which ones will not be visible. This is a real art that requires a lot of experience. Therefore, learn how to make a stencil better in some simple drawing or text inscription. You can create a stencil in almost any graphics program - for example, Photoshop is perfect. First, set the canvas size according to the size of the future stencil, then place a drawing on it, you can use the insertion option. Resize the inserted image as needed. After that, determine which parts of the picture will be cut out - paint them with some color, for example, black. After painting all the removed areas, look, did not it happen that some of the elements of the stencil was completely cut off from the base. For example, text templates may contain the middle of the letters "O", "P", "B", etc. In this case, provide thin bonding partitions between it and other parts of the stencil. The same applies to long lines - if you, for example, make a stencil of a rose, then a long stem will cut a piece of paper. Such a stencil will be fragile, so it is necessary to provide for the stem a few ties. After the final modeling of the pattern, print it on a sheet of white paper. Look at the picture - is the effect you wanted to achieve? What looked beautiful in the original drawing does not always look good in the form of a stencil. If something in the layout of the stencil is ugly, think about how to change it. Stencil Cutting
Print the stencil best onphotographic paper. The paint will be applied from the glossy side: when you remove the stencil, you can easily wipe the sponge with a sponge. With plain paper or cardboard it does not work that way, they will get wet and shatter. After printing out the stencil, a very important operation comes in - cutting out the painted areas. The stencil is placed on a sheet of cardboard or linoleum and the unnecessary areas are very carefully removed with a scalpel. As an option, you can use sharp nail scissors, they are good at this task. When cutting out the stencil, carefully watch for the cleanliness of the lines. They should be smooth, without burrs. Any violation of the lines will be reflected in the figure executed with the help of the stencil. If the prepared stencil is slightly wrinkled, put it about a day into the book and crush it with a load. After that, it will become absolutely smooth and usable.


