Tip 1: How to fix a nose in Photoshop
Tip 1: How to fix a nose in Photoshop
To paraphrase the old saying, one can say: "Nothing paints a girl like a photoshop." With this program you can change the color of eyes and hair, hair and noses. In virtual reality, you can look like you want.

Instructions
1
2
Get rid of skin problems in the image. Select the Healing Brush Tool. On the layers panel, set the brush hardness to 0, and the size is slightly larger than the size of the problem area. Hover the cursor over the clean skin, hold down the Alt key and click on the photo. The cursor will turn into a sighting pattern - a circle with a cross inside. The program adopted the image area as a reference.
3
Then move the mouse to the problem area andclick the left key - the pimple or speck will be replaced by the reference pattern. Retouch the entire nose in such a way that no visible skin defects remain.
4
In the Filter menu, select the toolLiquify ("Plastic"). It is, in fact, a separate graphics editor with its own set of tools and rich customization options. To zoom in, select the Zoom tool. If you want to reduce the picture, hold down Alt and apply Zoom. To move the image, use the Hand Tool.
5
Select the Pucker Tool,This can be pressed on the keyboard S. Set the brush size in the settings panel a little more than the area you want to reduce. The Density and Pressure values should be set small so that the correction is accurate. Hover the cursor to the bridge of the nose and click no more than 2 times. It is better to make changes gradually.
6
Press O to activate the Push toolLeft Tool ("Offset pixels"). If you traverse the right part of the image from top to bottom with this tool, the pixels move to the left, i.e. the object decreases, from the bottom up, it increases. To reduce the picture on the left, the cursor should be taken from the bottom up. Pixels are shifted under the cross.
7
The values of density and pressure leave small,Brush size reduce. Circle the instrument with your nose in the photo, starting from the right side, from the top to the bottom. Correct the cutout of the nostrils, if necessary. Use the tool with care, holding one section of the image no more than twice.
8
To undo the incorrect actions, pressReconstruct. To remove all changes, use the Restore All button. When the result of processing suits you, click OK. In the normal mode, carefully study the processed image again. If you decide that the adjustment was unsuccessful, you can press Alt + Ctrl + Z to undo the changes.
Tip 2: How to reduce the nose in Photoshop
Not always our photos are obtained as we want them to be, and sometimes some parts of the body or face visually protrude too. And most often it happens nose. To fix this is very simple, enough of some knowledge of Adobe Photoshop and a little creativity.
You will need
- Computer, Adobe Photoshop.
Instructions
1
Open your photo. Then duplicate the Background layer. To do this, in the Layer menu, select Duplicate Layer if you have an English version of the program. Sometimes in photos, the boundaries of the nose are difficult to distinguish, this problem can be solved by increasing the contrast of the image (Image - Adjustments - BrightnessContrast).

2
Now select the Lasso Tool andselect the nose, then press Ctrl + T. In this way, you will switch to the free transformation mode of the selected area. Pulling the corners of the selected area, you can change the size of the nose at your discretion. Also, you can drag your nose to another location.

3
You changed the size and position of the nose, but nowunder it the bottom layer is visible. This problem can be solved with the Clone Stamp tool. This tool is designed to transfer parts of the image by means of ordinary drawing. Move the cursor to the area you want to fill the desired space. In this case, this is the area between the nose and the mouth. Hold Alt and click on this area. Then release Alt and start drawing directly under the nose in the place you want to fill. You will have to practice, but soon you will understand the simplicity and convenience of this tool.
4
All that's left to do is make small cosmetic improvements. Select the Burn Tool and add shadows under your nose if you think they should be there.
Tip 3: How to fix hair color
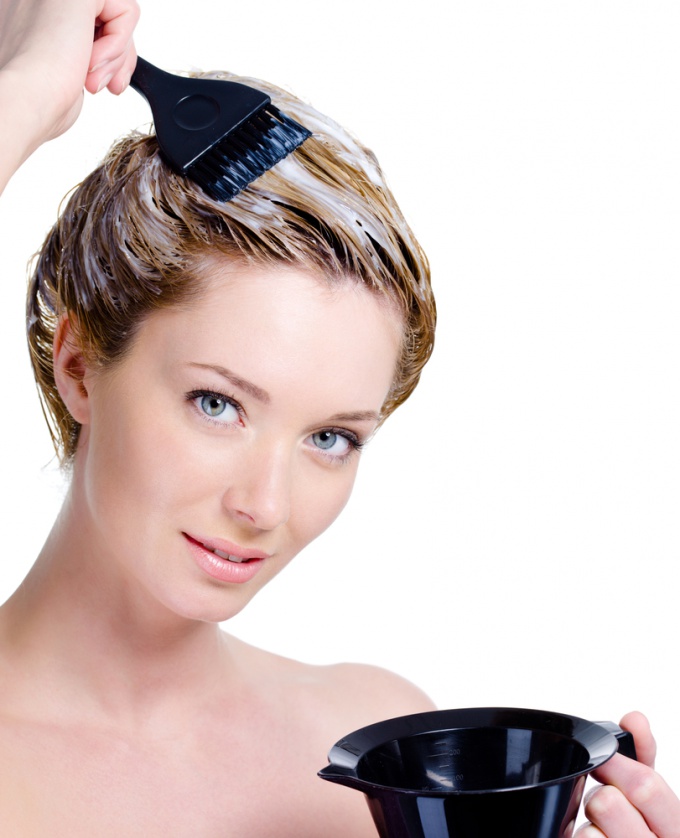
If the result of staining hair you are surprised or even disappointed, you should not run to the store for another packing of paint for hair. Repetitive staining can be so damaging hairThey will become dry and brittle, lose their beauty. There are several ways to fix an unsuccessful colors hair.
Instructions
1
If as a result of staining hairYou turned out lighter than you wanted, you can use shade tinctures and balms to give hairThe right shade. Or apply to hairYou will have a persistent ink for 5-10 minutes, so that the color will become darker and more saturated, just as you want it to be. The main thing here is not to overexpose the paint on hairah, so that the color does not become too dark.
2
If you decide to change from a brunette to a blonde, then know in advance that you will face a lot of difficulties. Dark hairYou can hardly discolor, and even more so hairs with a strong natural pigment. Do not discolor hairat home, so as not to put a cross onhis beautiful hair. It is better to do this procedure with a proven hairdresser who for sure will advise you to start turning into a blonde with frequent highlights. If you want to fix the results of unsuccessful lightening hair - remove yellowness and give hairNatural shade - use bezmiamoachnyepaints or tonics of shades such as pearly, sand. Yellowness is well neutralized by purple toning balms. Ashen shades can give discolored hairam green.
3
Fix a too dark color hair after staining, special washings will help. Although they are sold in specialized stores to everyone without restriction, it is still better to do the washing procedure in the salon, as, perhaps, you will need more than one application of the formulation on hairs to wash off your color. The drawbacks are that it spoils hairs. Alternative to chemical washing for hair - home masks with oils (burdock, olive, vegetable, castor), which "pull" pigment pigments from the structure hairbut, gradually returning hairnatural color, as well as strength and beauty. This method of correction colors longer. Also, do not forget that the color of even a persistent dye will fade and wash off over time, so perhaps you should not panic so much, but rather take it and wait until the paint itself is washed off hair.
4
If you are still categorically not satisfied with the color of the staining, you can try to inject hairAm beautiful tint using bezammiachnyh dyes, which are less aggressive or with the help of shade shampoos. These funds are quickly washed away, but do not spoil hairs as resistant paint. After all, the most important thing is the state hair. Even if you are through long searches colors find your "own", but at the same time your hairYou will look awful - dry, lifeless, like straw, believe me, looking at myself in the mirror will not give you any pleasure.
Tip 4: How to fix red eyes in Photoshop
Red eye effect - commonA disadvantage that often occurs when shooting with a compact camera using a flash. This often happens because this type of camera has a flash located too close to the lens. Another reason is shooting with poor lighting: when the pupils dilate in the dark, they miss and reflect more light. Fortunately, removing this defect is easy enough.

You will need
- Tools: Adobe Photoshop 7 or higher
Instructions
1
Open the image in Adobe Photoshop ("File" - "Open") and make sure that the layer palette is open. If it is not, call the Layer Palette from the Window menu (F7).

2
At the bottom of the palette, find the small charactercorrection layer. The symbol looks like a half white, half black circle. Click on it and select "Mixing channels". This allows you to separately adjust the red, green and blue colors in the image. Since in this case you need to get rid of red color, set the settings: Red - 0%, Green - 50%, Blue - 50%. After adjusting the colors, the faces in the photo will look bluish-green. It should be so.

3
Make sure the foreground color is black, thenSelect a small brush with soft edges. Zoom in on the image using the Zoom tool and gently paint the pupils. As they are painted, they will turn red again.

4
First you should get a completethe opposite of what you want to achieve. After that, the image needs to be inverted. Expand the "Image" menu, then select "Correction" and click "Invert". Immediately after this, the image should be as it should be.

5
Estimate the result. If there is a red "halo" around the pupils or reddish fragments of the image appear, then, in the process of painting, you went abroad the pupil. Invert the image, take a smaller brush and white color, erase all unnecessary. Then repeat the inverting. Now you should get a beautiful picture without the effect of red eyes. Save the finished image.

Tip 5: How to remove blackness under the eyes
Dark circles under Eyes may be the result of severe fatigue, the result of overexertion, pain, stress, etc. Get rid of the black under Eyes It is possible, only having eliminated the reason of its occurrence or having disguised it.

You will need
- - raw potatoes;
- - fresh cucumbers;
- - parsley.
Instructions
1
Ensure adequate sleep duration. People who are chronically undersleep or suffer from insomnia always have problems with traces of such conditions under Eyes. If this is the main reason for the appearance of black under Eyes, then try to sleep more. Choose a comfortable bed and slightly raise the pillow to cause fluid outflow.
2
Protect skin from sun exposure. The appearance of black circles under Eyes can be caused by the excess of the sun. Skin eyelids are tender and fine, and ultraviolet rays act on it fatal, reducing the production of collagen. Use products with a high sunscreen factor and a retinol content that discolours the pigment spots on the skin. Always wear large glasses covering as much of the face area as possible.
3
Use the methods of home medicine. Make compresses from grated potatoes, apply cucumber slices to the skin, grease it with infusions of parsley.
4
Treat the underlying disease. Problems with the kidneys, stuffy nose, allergic reactions can cause dark spots under Eyes. Treat the underlying disease and the spots will become less noticeable - use vasoconstrictors, wash your nose, take antihistamines.
5
Try clarifying compounds. There are special tools that allow you to lighten the skin a little Eyes - they contain active substances, which can cause irritation on the delicate skin. Therefore, use them with caution and only after testing on a small area of the skin.
6
Call for help from a plastic surgeon. If the appearance of blackness is accompanied by the formation of bags under Eyes, then you can try to get rid of excess skin and tighten the muscles. Blepharoplasty allows you to change facial features by tightening the muscles, removing excess fat and skin.
7
Try laser therapy. Gentle way to get rid of the black under Eyes, which involves smoothing the skin, removing wrinkles and improving the color of the tissues. If necessary, repeat the procedure after a while for the best result.
Tip 6: How to process video in Photoshop
Popular Adobe Photoshop graphics editorallows you to create miracles with images - do photomontage and collages, improve the overall appearance of the photo or beyond recognition change the appearance of the person depicted. But this is not limited to the possibilities of the program. Using standard tools, Photoshop can quite successfully process and edit video files.

Instructions
1
Convert the video in any converter to a format.mov or .avi - formats that Photoshop can recognize. Download Photoshop. Then click on the File menu → Import → Video Frames to Layers. Click Ok and Continue in the windows that will appear.
2
Wait for the video to be imported into layers in Photoshop. In addition, you can open the desired video file in another way: File → Open. After that, open the tab of the top menu Window and check the box next to Animation and Layers. Select the frame you want to edit by moving the slider on the Animation panel or selecting it in the Layers palette.
3
Click on the Image tab andexpand the Adjustments group. Select the options of the appeared context menu to edit the Saturation, Hue, Lightness, including the Selective Color, add a gradient map. Adjust the sliders parameters, saving the result by clicking on "Ok".
4
Reduce the noise. In the Filter tab, select the Noise group and click on Reduce Noise. Adjust the sliders to reduce the noise by looking at the image of the video that appears on the left in the window.
5
Process video with Topaz Clean plug-insor Imagenomic Portraiture, whose .exe files and activation keys can be found on the Internet. In Photoshop, open the Filter tab and at the end of the list the plugin will be displayed. Click on it to open a separate processing window. Adjust the sliders with these parameters to get the best result. Click "OK" in the lower right corner.
6
Save the result using File → Export("Export") → Render Video ("Render Video"). Name the file and under File Options select QuickTime Export (to have a video output) or Image Sequence (to get a sequence of images).
Tip 7: How to remove circles under the eyes in Photoshop
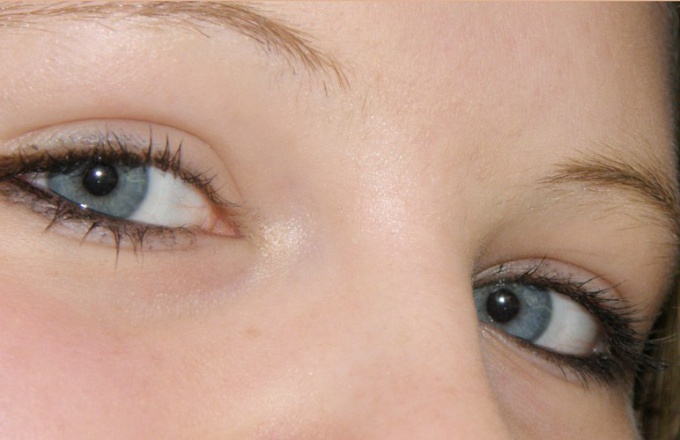
One of the tasks that must beprocess of processing of photos, is clarification of dark circles under eyes. To retouch this area, the Patch tool is suitable, and additional correction can be performed by changing the blending mode of the layers.
You will need
- - the program Photoshop;
- - the photo.
Instructions
1
Load the snapshot you want to edit,in Photoshop. If the area of the photo you are going to work with contains minor defects, remove them with the Healing Brush tool or the Clone Stamp. To not make changes to the original photo, use the Ctrl + Shift + N keys to create a new layer on top of it and, selecting the desired tool, enable the option Sample all layers in its settings.
2
Pressing the Alt key, click on the fragmenta picture suitable for copying the pixels with which the defect will be closed. By releasing the button, paint over the area that needs retouching. If the source of the copy differs from the edited fragment with color and brightness, try applying Healing Brush. If this difference is missing or is not important to you, select Clone Stamp.
3
After finishing the correction of small parts,visible layers with the Alt + Shift + Ctrl + E keys. The original image and the retouched layer will remain in your document. If the picture did not need a preliminary correction, duplicate it with the keys Ctrl + J.
4
Turn on the Lasso tool, indicating the feathering value in the Feather field. Fully surround the tuned instrument with a dark area under one eye.
5
Activate the Patch Tool and turn it on.the Source option. Move the selected area to the portion of the picture that will fit as a patch. In the process of moving a fragment, you can observe how the processed section of the image changes depending on where the selection is located.
6
After receiving an acceptable result, cancel the selection with the keys Ctrl + D and process the second eye in the same way.
7
Perhaps the edited snippets of the snapshotwill require easy lightening. To do this, duplicate the top layer and overlay it on all other parts of the document in the Screen mode ("Clarity"). Focusing on the brightness of the skin under the eyes, adjust the transparency of this layer. To reduce the lightening effect, make the upper picture more transparent by setting the Opacity parameter to less than one hundred percent.
8
The option Hide All ("Hide All") of the Layer Mask group("Layer mask") of the Layer menu, hide the layer under the mask. To keep the highlight on the right parts of the image, paint the black layer mask in these places with white color, using the Brush tool.
9
With the Save As option of the File menu, save the edited copy of the original picture.

