How to Treat Skin in Photoshop
How to Treat Skin in Photoshop
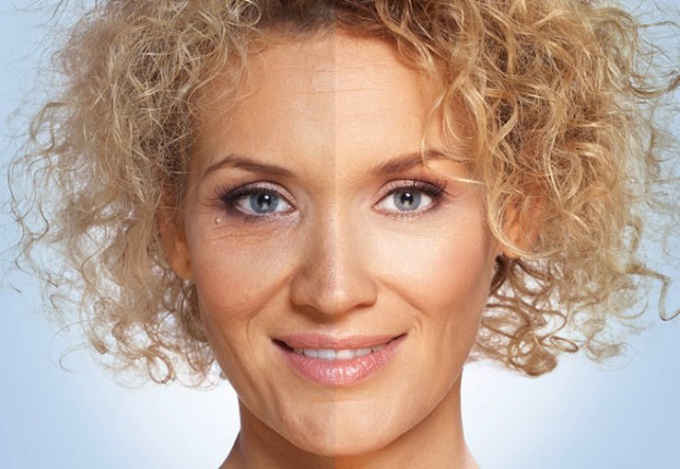
Smooth healthy skin will do muchmore attractive than any person. With the help of the graphic editor Adobe Photoshop, you can remove many of its flaws: wrinkles, irregularities and stains. At the same time, it is very important to stop in time, so as not to turn a living face into a plastic mask.

Instructions
1
Open the photo in Photoshop and copyimage on a new layer, by applying a combination of hot keys Ctrl + J or by selecting the Duplicate Layer command in the Layer menu. Any correction is better done on a new layer, so as not to spoil the result that suits you.
2
On the toolbar, select the toolHealing Brush Tool. Hover your cursor over a healthy patch of skin and press Alt and left mouse button. The cursor will take the form of an optical sight: a cross in a circle. This means that the tool took a sample pattern and will consider it to be the standard.
3
Now click on the problem area -it will be replaced by a picture of healthy skin. Choose a sample so that it does not differ too much in color and light from the area that you will adjust. Process the whole image in this way.
4
Select the face and neck on the layer, i.e. sites that you will retouch. This can be done using tools from the group L - Lasso Tool ("Lasso") or Lasso Magnetic Tool ("Magnetic Lasso").
5
It is also convenient to use editing in modequick mask. Press Q to go into this mode and use a black brush to paint the face and neck, without touching the eyes, brows and lips, ie. sharp lines. The image will be covered with a translucent red film - a protective mask. Mistakenly applied mask can be removed with a brush of white color.
6
Press Q again to return to normal mode. A selection appears around the face. It must be borne in mind that now the entire picture is selected, except for the face - it is protected by a mask that is not visible in the usual mode. Invert the selection with the hot keys Shift + Ctrl + I and press Ctrl + J to copy the face to the new layer.
7
In the Filter menu, select Gaussian Blur("Gaussian Blur") in the Blur group ("Blur"). Put such a radius value so that skin defects become imperceptible. In the same Filter menu in the Noise group, select the Add noise command. The value of the radius should be very small - so that the skin does not look plastic. Lower the opacity of the layer to about 50%