Tip 1: How to change the background in Adobe Photoshop (Method 2)
Tip 1: How to change the background in Adobe Photoshop (Method 2)
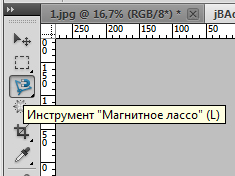
A more effective way of separating the image from the background in Photoshop is based on the use of the "Magnetic Lasso" tool. The method is applicable to images with a complex background.
You can change the background in PhotoshopAn effective method that is based on the use of the "Magnetic Lasso" tool. Open the desired image in Adobe Photoshop. Select the appropriate tool in the editor panel.
A cursor with a magnetic lasso image clickleft mouse button at any point in the outline of the picture. Smoothly move the mouse along this contour. In this case, the selection path will "stick" to the image, leaving the nodes (squares).

Continue to drive the path along the entire image. When you return to the starting point of the selection, move the cursor to the very first node, a circle appears to the right of the mouse pointer, indicating that you can close the selection. Press the left button. A selection is formed.

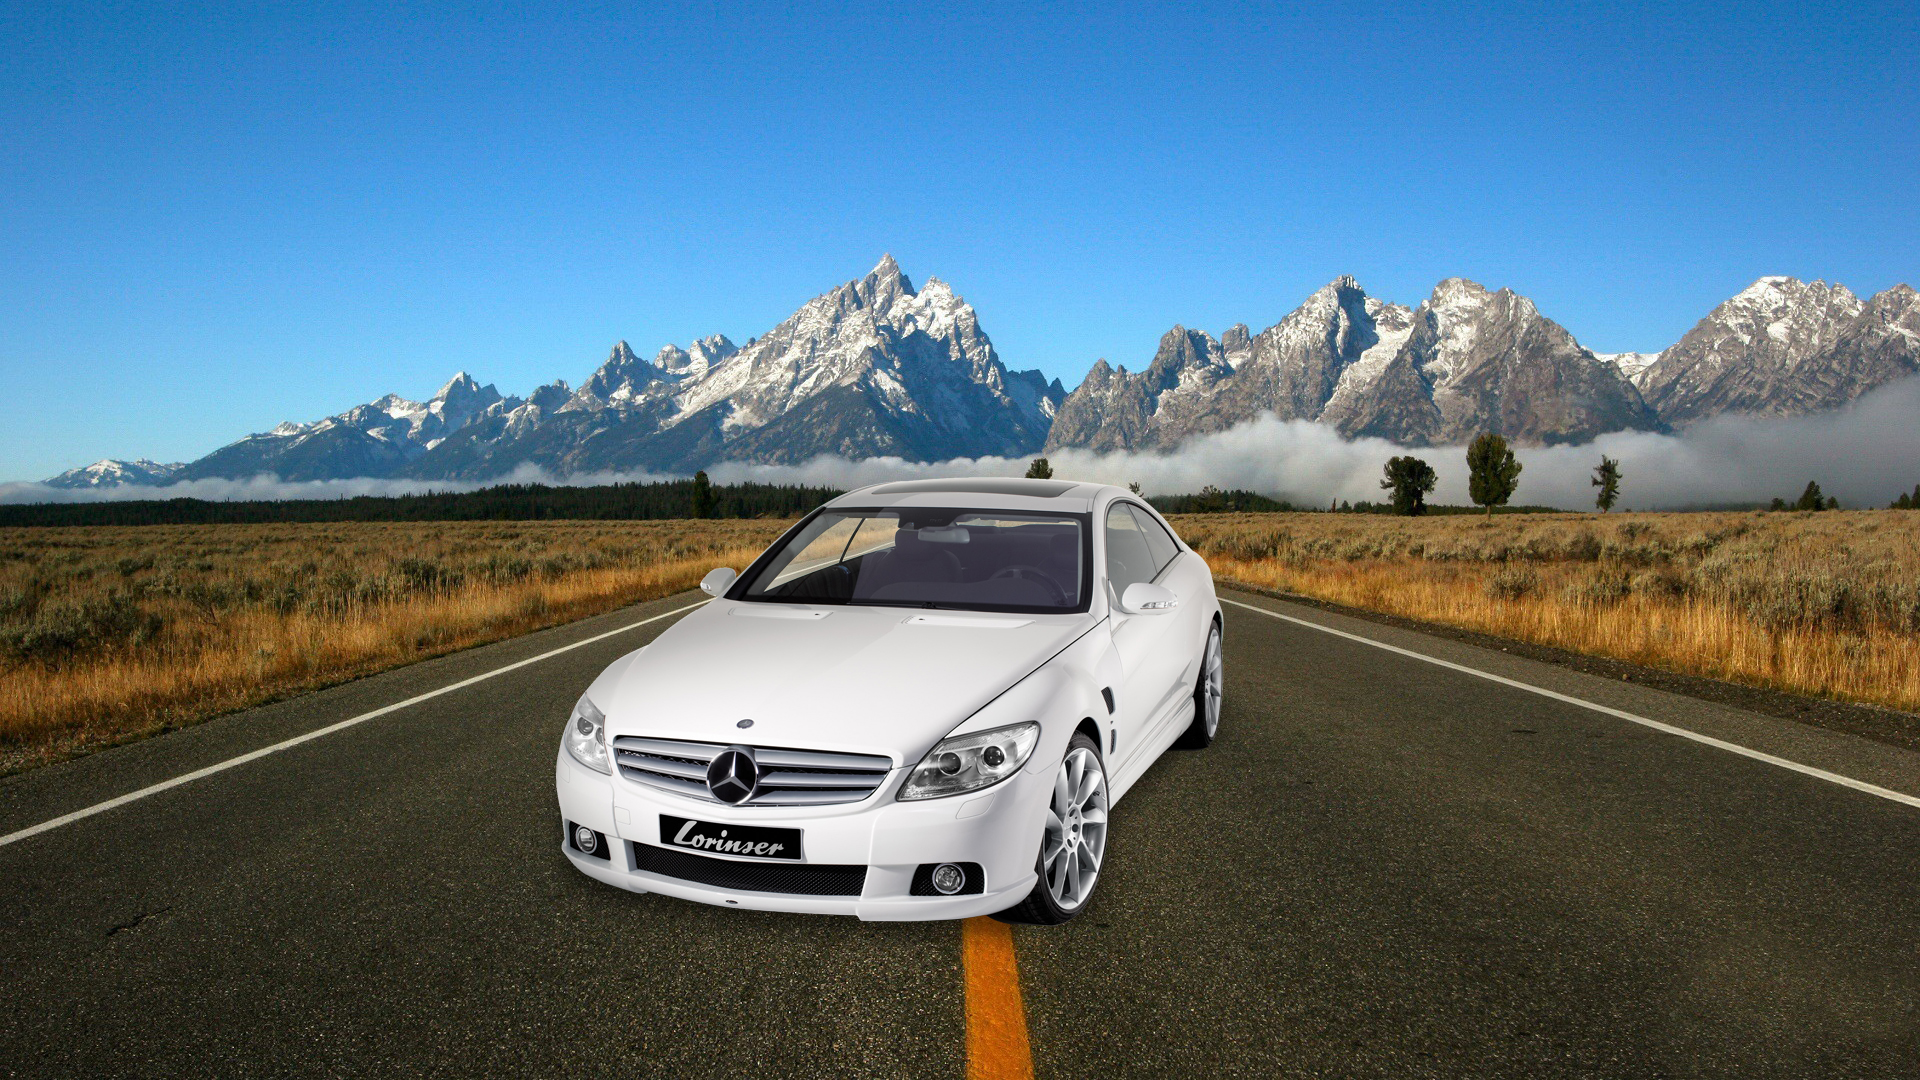
Then open the picture with a new background, wherewant to place the selected image. Using the shortcut keys "Ctrl + C" and "Ctrl + V", copy the selected area to a new file with the desired background. Scale the copied fragment using the "Ctrl + T" combination, apply the changes by pressing Enter. Move the image to the desired location. To do this, hold down Ctrl and left mouse button, move the fragment along the new image with the background. Here is the result:

Tip 2: How to copy the background
If you do not like background the image you have, always to thecan come the Adobe Photoshop graphics editor and its features. Using it, you can create a file consisting of two separate layers, one of which will be the image you want, or a photo, and the second one is the one suitable for it background.

You will need
- Adobe Photoshop graphics editor
- two digital images
Instructions
1
Open a photo in the photo editor that you want to change background.
2
Select the "Magicwand "(Magic Wand). Select the space around the object (in our case, around the girl). This may require a few clicks. In this case, make sure that the settings of the tool are the same as in the figure.
3
If the wand has allocated not only background around the object, but also some parts of theobject, it's easy to fix. Select the Lasso tool and the subtraction mode from the selected area, as shown in the figure above. And now circle the lasso areas that should not be highlighted.
4
Invert the selection by pressing Ctrl + I. Now you need to make the selection softer with the menu item Select - Modify - Feather (Selection - Modification - Feather). In the dialog box, specify a feather radius of 1-2 pixels and click OK.
5
Now you can transfer our girl to a separate one from backgroundand a layer using the keyboard shortcut Ctrl + J. Notice the layer palette: now there are two layers. On the top of them - a girl separately from backgrounda.If you do not have a layer palette in the workspace, call it by pressing the F7 key. Now you can delete the bottom layer by clicking on the garbage tank image in the lower right corner of the layers palette. Our model will remain transparent backgrounde, under which you can pick up any substrate.
6
Open the file with the new one backgroundwhich you would like to copy. For example, here are these maple leaves. In the layers palette there should be only one layer called "Background" or "Background". Now you can either copy the girl's image to a file with backgroundohm, or vice versa. In either case, you need to drag the layer that you need from the palette into the second document. When dragging, hold down the left mouse button.
7
Edit the file so that it accepts the desiredyou kind. Correctly arrange the layers in the palette in the required order relative to each other. The order of layers also changes by dragging with the mouse, while holding down the left key.
8
Scale the layers relative to each other. To do this, select a layer in the palette, the size of which you want to change with respect to the other layer, and press the combination with the Crtl + T key. After that, you can change the size of the layer in two ways: either by entering numeric values in the scaling panel, or by changing the size of the layer with the mouse. If you are working with the mouse, hold down the Shift key, then the layer size will change proportionally. After selecting the scale that you need, press the "Enter" key.
9
Using the "Move" tool, set the backgroundA new layer and a layer with a portrait of the girl relative to each other so that the result you like. If necessary, crop the image with the Crop tool.
10
Save the finished file in the format you need (for example, jpeg) using the "Save" or "Save as" menu option. Here's the picture with the new one backgroundoh!