How to sew "forward with a needle"
How to sew "forward with a needle"
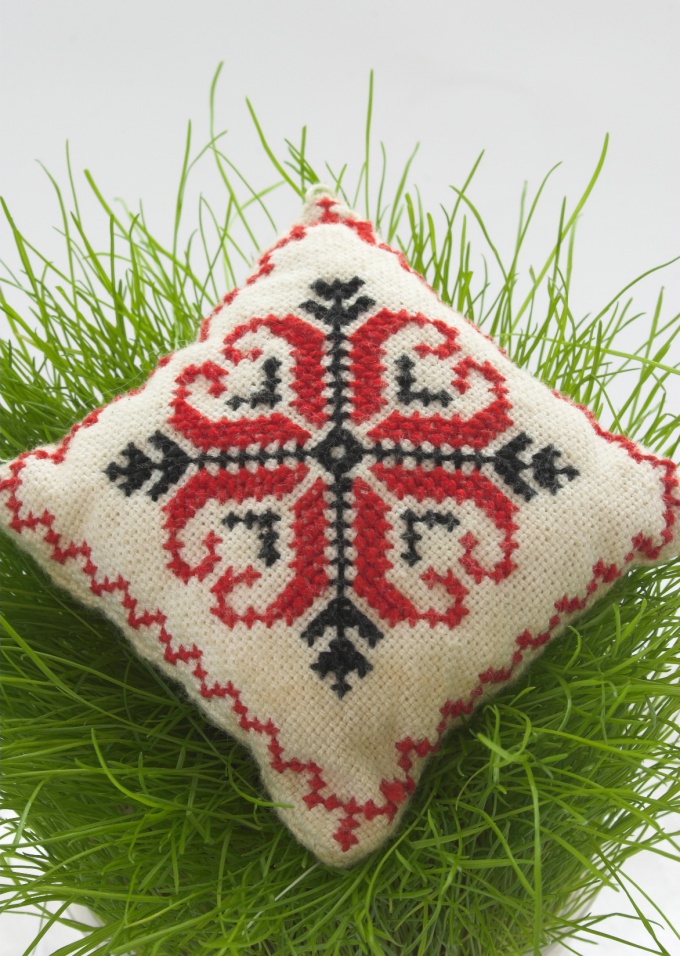
Seam "forward needle" - one of the main in manualsewing and embroidery. With its development, the future seamstresses begin to train. Despite the fact that it is considered simple, there are several varieties of this seam that allow you to create interesting ornaments.
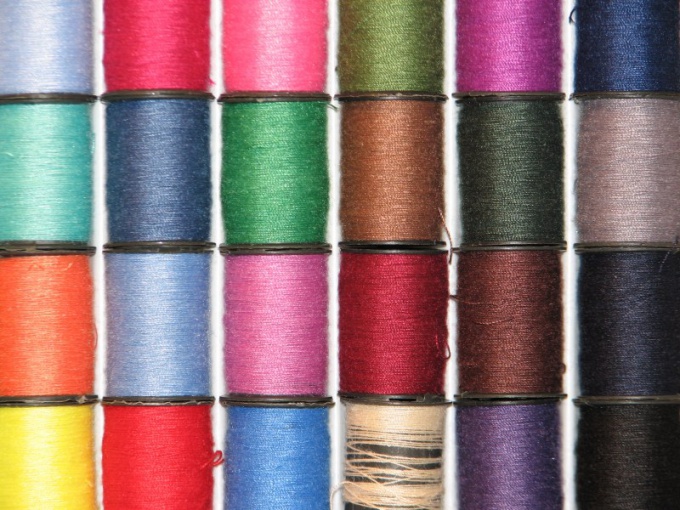
You will need
- - a piece of plain weave fabric;
- - cotton thread;
- - A needle.
Instructions
1
The "forward needle" seam is usually used forparting. It can be done on any fabric, but to begin with it is better to take a material with a linen weave. Select the contrast color to make the seam better visible. Needle is more convenient than embroidery, with a wide eyelet. Thread the thread. You do not need to tie a knot. If for the first time in your life you took up sewing, draw a long line on the front side of the fabric with a sewing marker along the ruler, along which you will sew.
2
Sew from the right edge of the material. The fabric does not need to be damped. Tap the needle from the wrong side, bring it to the front and make a stitch 2-3 strings long. Pull the needle and thread to the wrong side. Thread 2-3 threads and pull the thread back to the front. Sew this way to the end of the drawn line. All stitches must be exactly the same in length. Having mastered the seam "forward the needle" on the fabric in one layer, try to sweep them 2 pieces. It is possible that you have to sweep the details of a rounded shape. In this case, it is necessary to follow the stitch length very carefully.

3
In embroidery, there are several varieties of this seam. For example, parallel. The simplest parallel seam "forward needle" consists of two lines. The first one is sewn the same way as when mastering the reference weld. Place the second line about 0.5 cm apart. Stitch the stitches from right to left, strictly under the ones that already exist. Lines can be more. Stitches can be joined with a seam "goat", loop, etc.
4
The alternating seam "forward needle" is similar toparallel. Lay one line of stitches, and then the second, but so that the new stitches on the front side lie against the gaps, and the gaps are opposite the stitches of the first line.
5
An interesting version of the seam is a "wave". Sew one line with the seam "forward the needle". Take the needle with a thread of a different color, lead it from the wrong side to the right side at the right edge, next to the first puncture. Insert the needle from the bottom between the first stitch and the fabric, then from the top between the second stitch and the fabric. Then the thread will go from below under the third stitch, from above to the fourth, and so on. When performing this version of the seam, it is important to ensure that the needle does not grip the fabric.
6
The "forward needle" seam can be further complicated. Start it the same way as the previous one. Insert the needle from below under the first stitch, wind it with a thread 2-3 times. Guide the needle from above to the second stitch and make so many turns. This version of the seam looks nice if you perform it on a loose fabric with bright and fairly thick threads.